
Google has developed an official WordPress plugin. Its name is Google Site Kit.Site Kit makes it easy to set up and configure core Google products, such as Google Tag Manager.
Plus, it gives you reliable and up-to-date advice on how to be successful on the web. See a list of Google products that can be enabled with Site Kit.

Google Site Kit Tutorial

Step 1 Log in to your WordPress website.
Make sure that your site is publicly accessible. This means your site is not in maintenance mode and can only be accessed by entering a password.
Step 2 In the left navigation menu, click Plugins.

At the top of the Plug-in page, click Add New. Next, search for “Site Kit”.
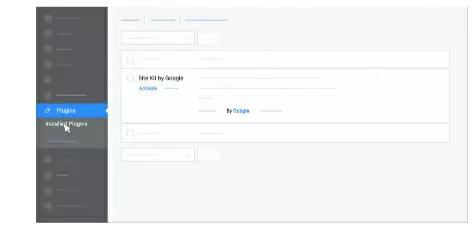
Step 3 On Google’s Site Kit, click Install now.
Once the plug-in is installed, click Plug-ins in the menu on the left.
Under “Site Kit by Google,” click Enable.
How to create CEO friendly website
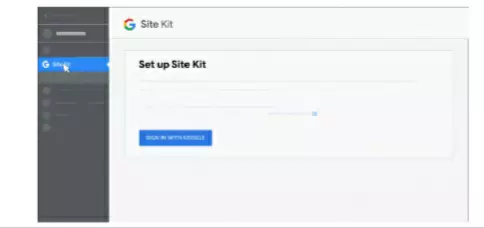
Step 4. Once the plugin is enabled, click Site Kit on the left.
Step 5 Click Sign in with Google.
Step 6 Google Analytics property.
Select a Google Account with an existing Google Ads or Google Analytics property.
Google Analytics property.
After granting permission, click Next to confirm ownership of the site.
To grant access to data associated with your Google Account, click Allow.
Best keyword research tool
Step 7 site kit to Search Console
To add a site to Search Console, click Add site.

Now, you have configured the plugin.
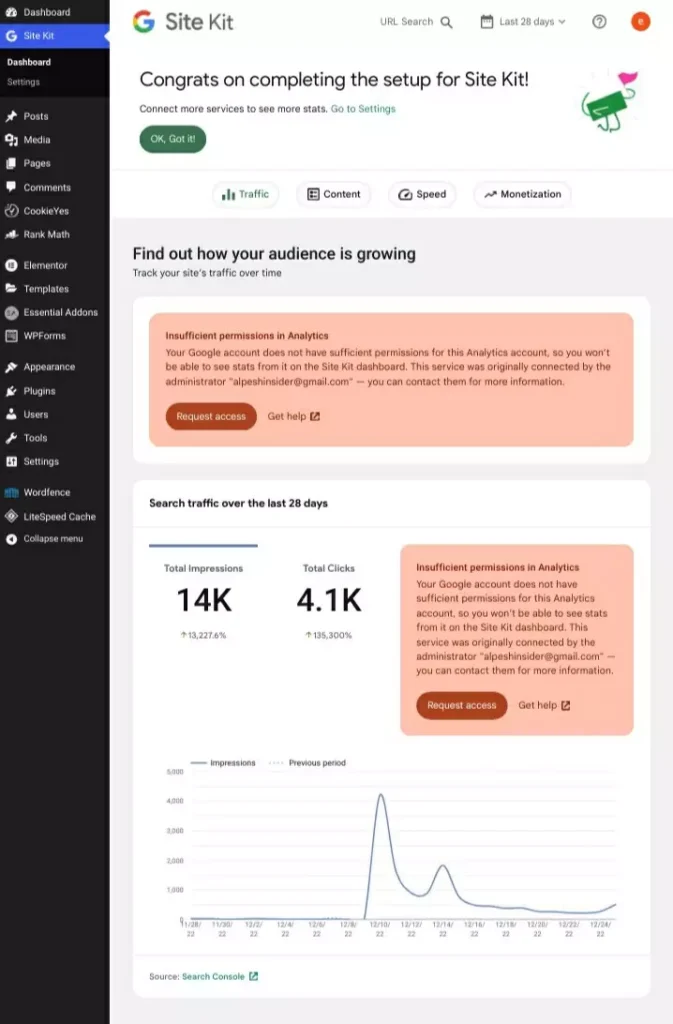
To continue, click Go to my dashboard.
From the menu on the left, after selecting Site Kit, select Dashboard.
Step 8 in the Analytics section, click Connect service.
Sign in with the Google Account you’ve used before.
Step 9 To grant more permissions, click Continue.
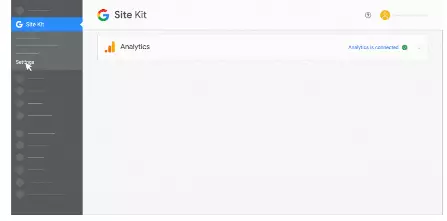
Select your existing Analytics property. Then, click Configure Analytics.
Analytics is now configured.
To enable Google Ads, click Settings in the left menu. Next, go to Site Kit Settings.
Step 10 Click on Site Kit.
To expand the “Analytics” section, click Analytics. Then, at the bottom of the section, click Edit.
In the box provided, paste your AdWords Conversion ID (AW-). Then, click Confirm changes.
Google site kit overviews
Full Project